PART I
What is OBDSTAR MT203 CAN Driver/Gateway Simulator?
OBDSTAR MT203 CAN driver/Gateway simulator is specially designed for automotive electronics maintenance and repair with 2-year free update. It provides CAN driver and gateway simulation functions for multiple vehicles.
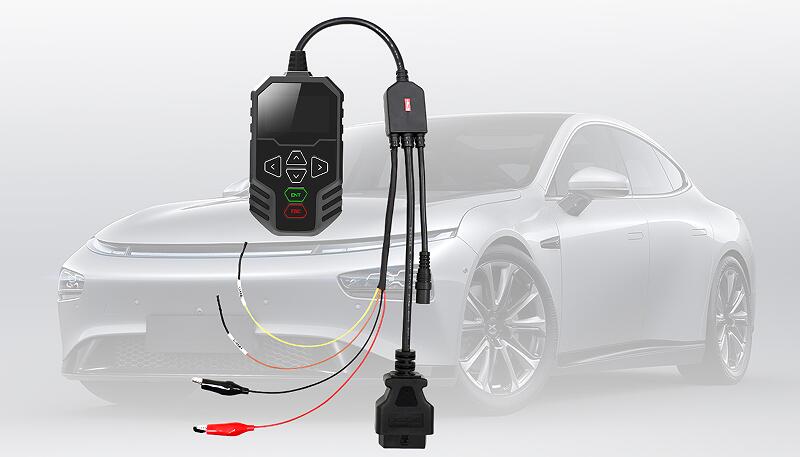
OBDSTAR MT203 Gateway Simulator Highlights:
- Using STM32H723 high-performance MCU, fast running speed;
- Support standard CAN, Low speed(fault-tolerant CAN), CANFD protocols:
- Automatic scanning, manual baud rate selection, custom input baud operation; rate and other modes to simulate different types of gateways;
- Integrated design, comes with 120Ω resistor switch, easy to operate;
- Simple and intuitive menu allows you to quickly master the device;
- Mini USB upgrade cable directly connected to the PC for one-key upgrade
When need OBDSTAR MT203 CAN Driver?
- Automotive electronic ECU repair (Airbag, Dash, BCM and other modules simulation gateway diagnostictest by BENCH)
- Automotive electronic ECU repair (Dash, Audio, Gear Lever, AC panel and other modules CAN drive test by BEHCH)
- E-Car components repair (Compressor, DCDC, On-board charger and other modules simulation gateway diagnostic test by BENCH)
Which models are supported by OBDSTAR MT203?
MT203 supports Dash, Audio, Gear Lever, AC Panel and other test functions for below models:
AUDI, FORD, PORSCHE, BENZ, JAGUAR, ROLLS-ROYCE, BMW, LAMBORGHINI, VOLKSWAGEN, DODGE, LAND ROVER, VOLVO.
Which Protocol Types/Functions are supported by OBDSTAR MT203?
1.Gateway Supported Protocols
Standard CAN/Standard CAN
500K/250K 500K/125K
Custom Baud Rate
Standard CAN/Tolerant CAN
500K/83.3K
500K/100K
500K/125K
125K/125K
Custom Baud Rate
Standard CAN/CAN FD
500K/5M
500K/2M
Custom Baud Rate
2.CAN Driver Supported Functions
Supports Dash, Audio, Gear Lever, AC Panel and other test functions for AUDI, BENZ, BMW, DODGE, FORD, JAGUAR, LAMBORGHINI, LAND ROVER, PORSCHE, ROLLS-ROYCE, VOLKSWAGEN, VOLVO and other brands
PART II
How to use OBDSTAR MT203?
MT203 has a 120 ohm resistor switch.
If the ECU does not have a 120 ohm resistor, it needs to be turned on.
There are also four cables in MT203, power cable, GND cable, CAN Low and CAN High.
Plug in the 12V power supply
Connect the OBD female connector to the diagnostic connector
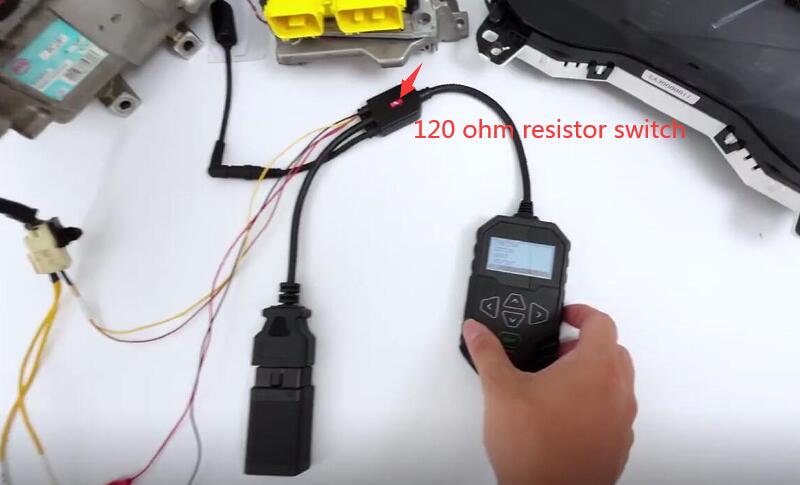
You can see the supported functions: Gateway simulator and CAN Driver.
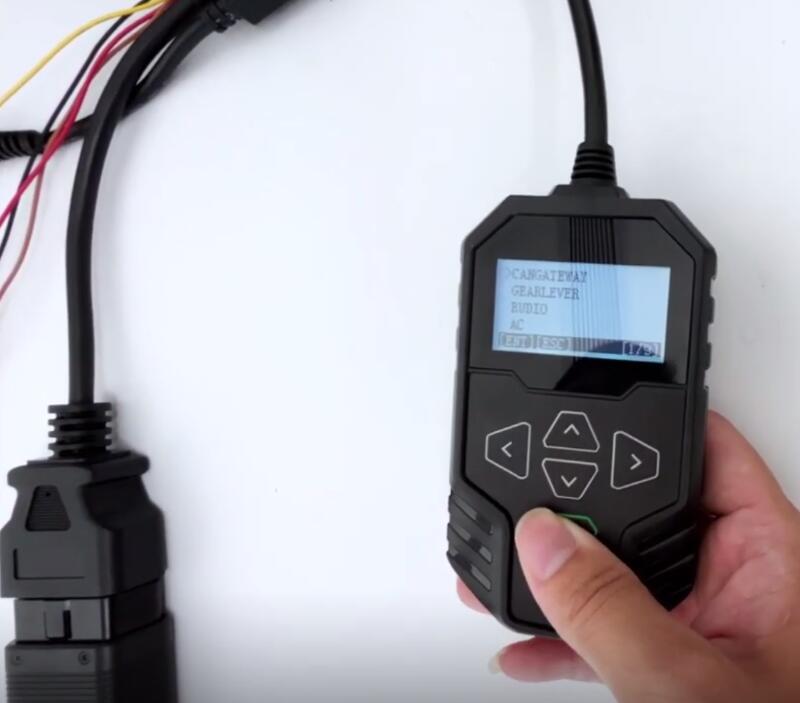
- Select [GATEWAY]
Check the note of caution
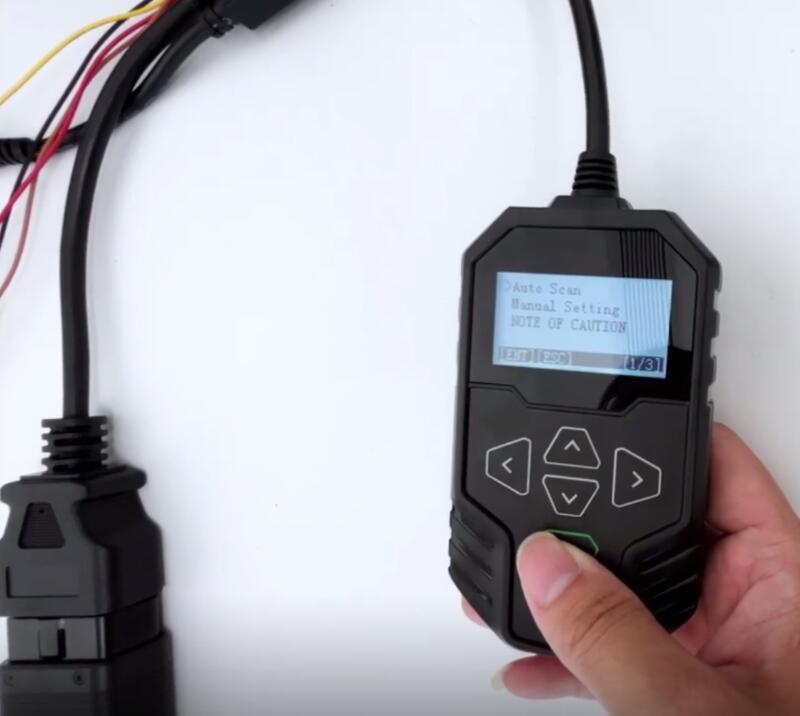
1.Select [Auto Scan]
This function only supports standard CAN and tolerant CAN.
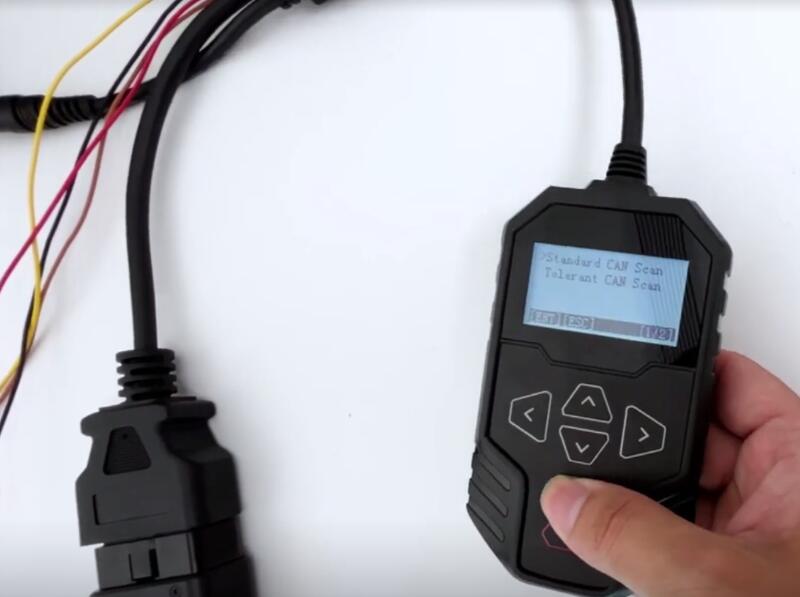
Start by operating the standard CAN
It recognizes that the baud rate of the BYD E6 compressor is 250K
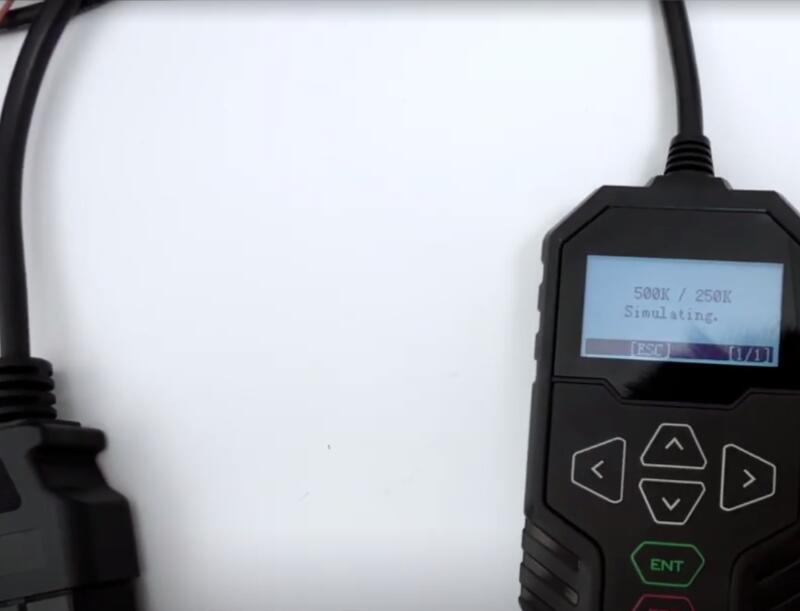
Press [ENT] to start the simulation
Check out the diagnostic tool
It can access the system normally, the simulation is successful.
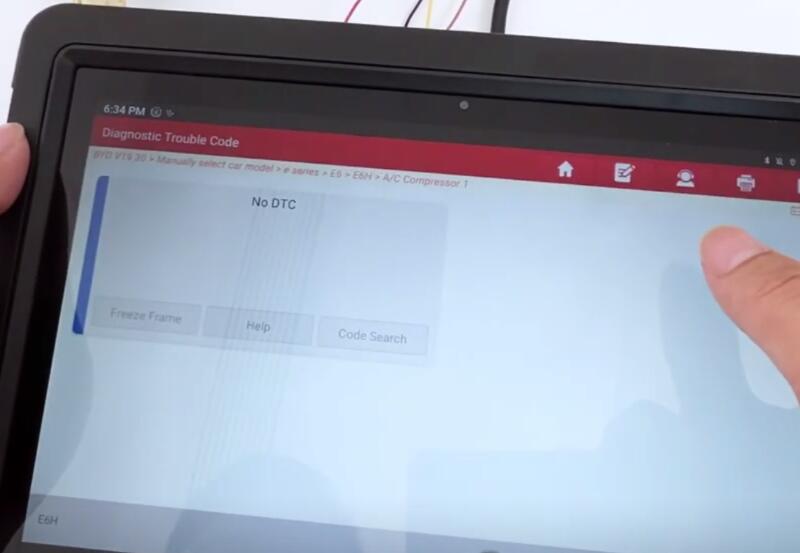
Note:
If the simulation is successful, the three points will rotate in a loop and if they stop, the simulation fails.
2.Operate [Manual Setting]
This function supports standard CAN, tolerant CAN and CAN FD.
First, let's do Standard CAN
Select [Standard CAN]
Select [Custom Baud Rate] and set it according to your needs
On the left is the baud rate of the diagnostic scanner, and on the right is the baud rate of the ECU
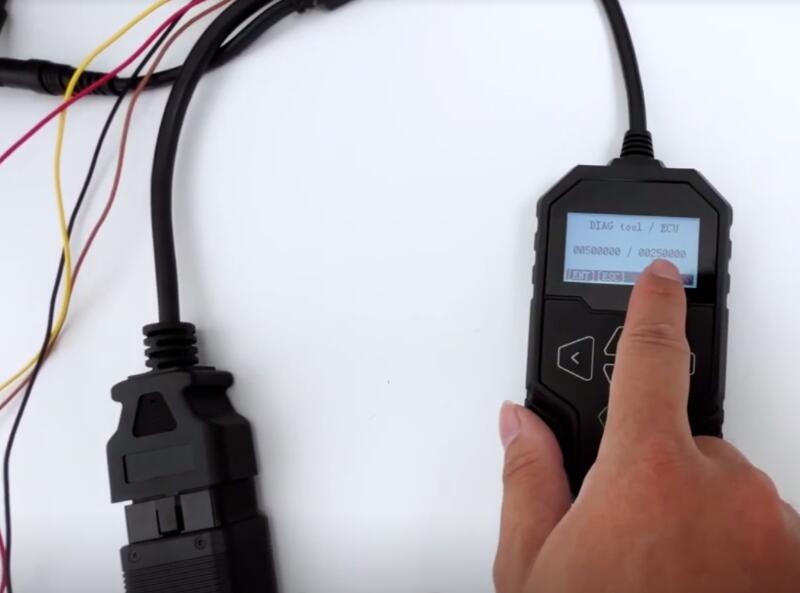
Enter the correct baud rate and press [ENT]
Access to the diagnostic system normally- successful simulation
Then, operate tolerant CAN
Connect the module first
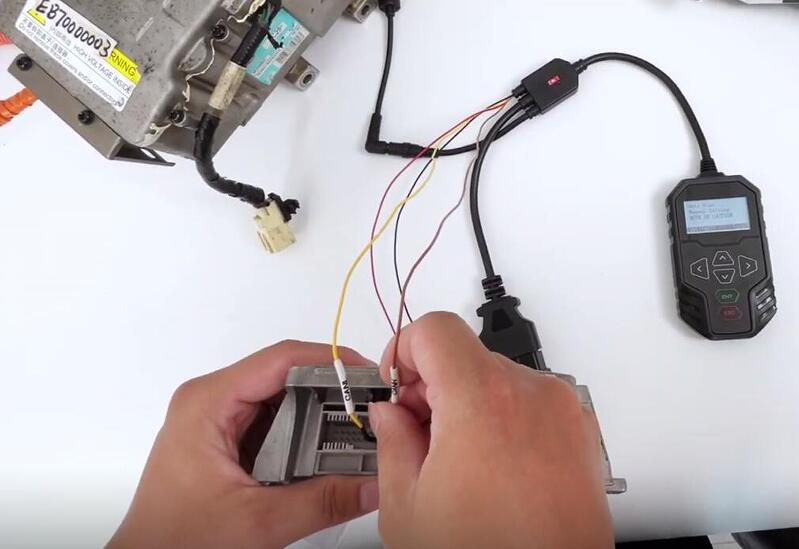
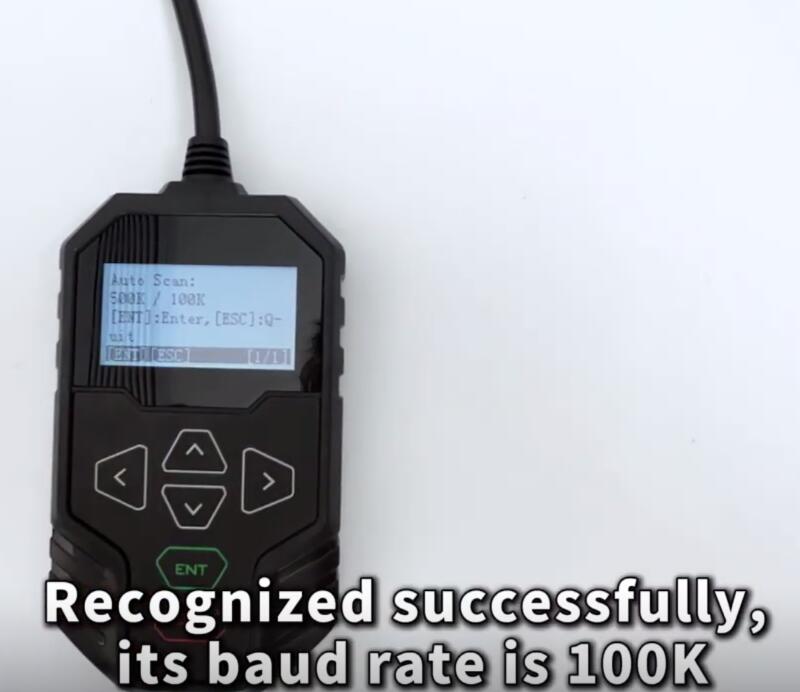
Select Auto Scan>> Tolerant CAN Scan
Recognized successfully, its baud rate is 100K.
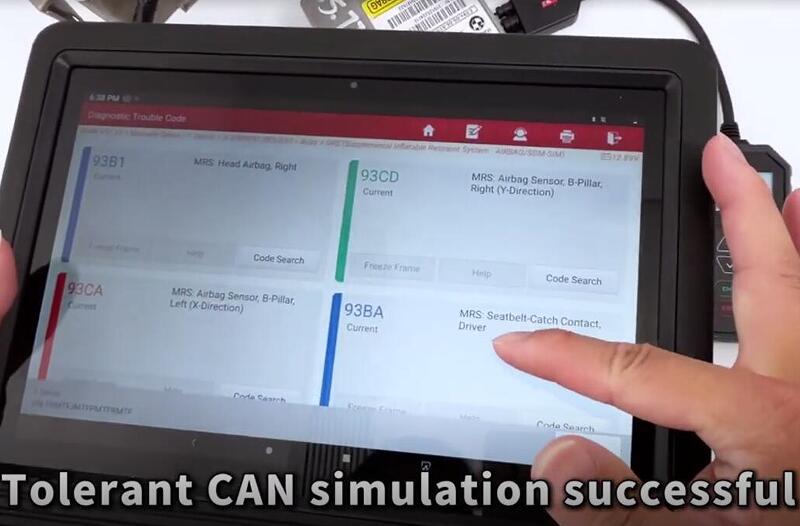
Let's use the diagnostic tool to read the fault code
Tolerant CAN simulation is successful
Diagnostics can be performed normally.
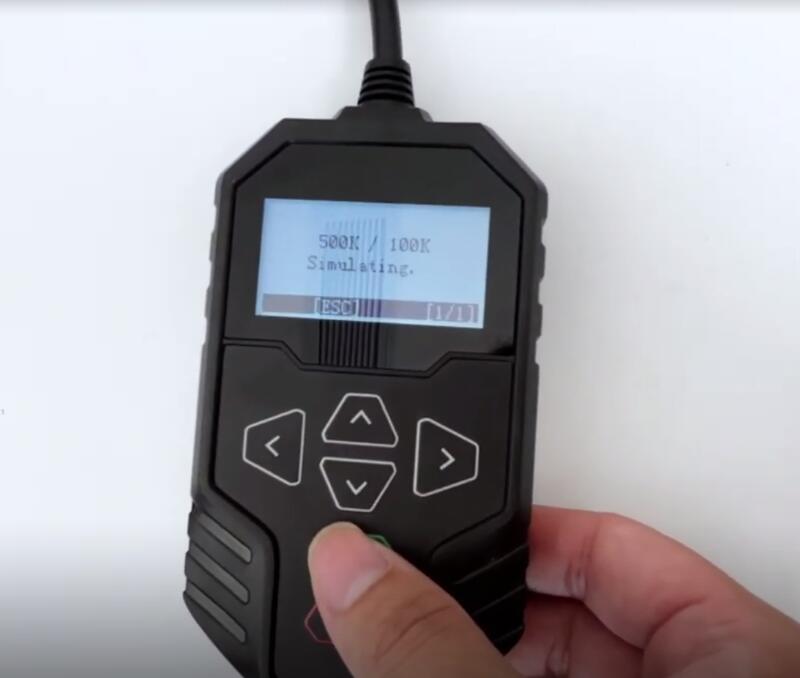
Let's try [Manual Setting]
There are some common baud rates in the device by default.
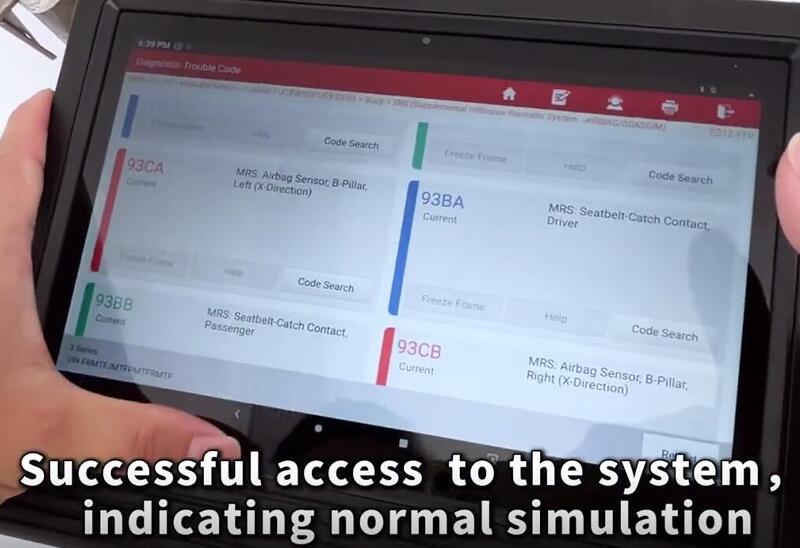
Select the correct baud rate, and then read fault code with diagnostic scanner
Successfully access to the system, indicating normal simulation
Finally, let's demonstrate CAN FD.
Note: The CAN FD protocol does not support automatic scanning.
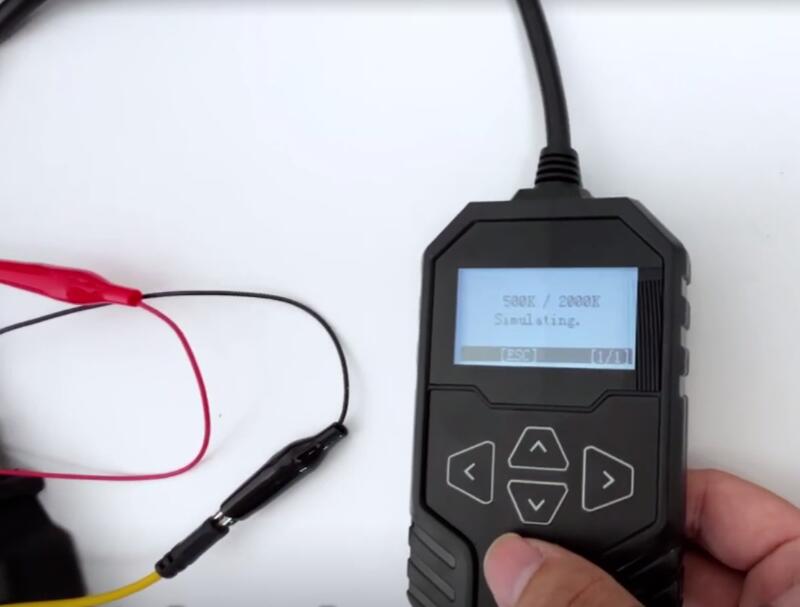
Select [Manual Setting], this has been pre-tested, and the baud rate is 2 megabits
Select the correct baud rate 500K/2000K
Read the fault code with the diagnostic scanner
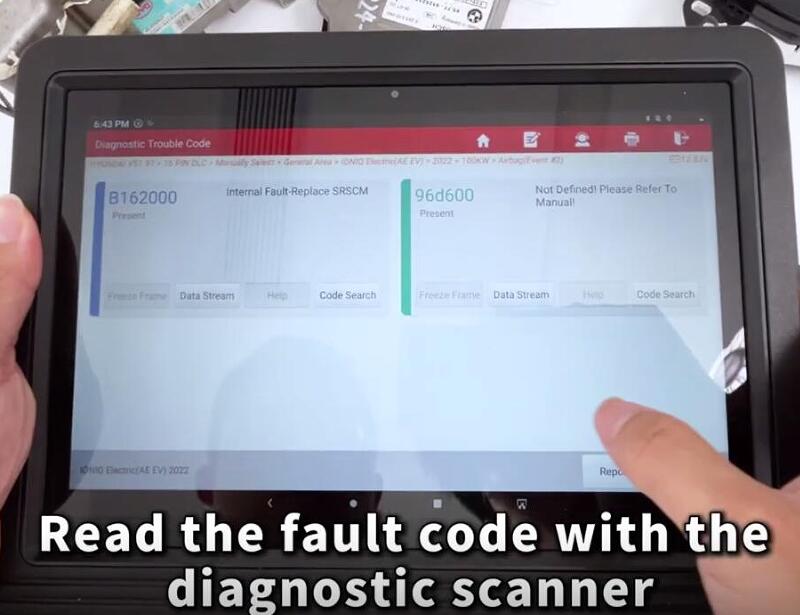
It’ s also possible to diagnose normally. The simulation is successful.
Select [Custom Baud Rate], enter the correct baud rate, and press [ENT]
Read the fault code with the diagnostic scanner, and the simulation is successful.
- CAN Driver
Check out the menu, many types of drive tests.
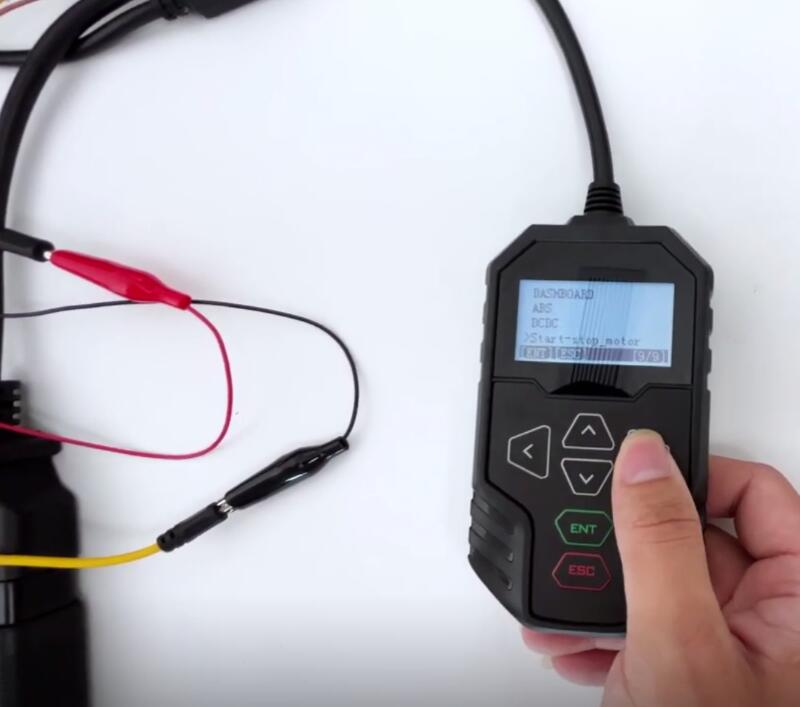
i.e dashboard drive
Open the OBDSTAR APP on the Android/IOS smartphone to get the wiring diagram for the module
For example: Dashboard>> FORD>> OTHER
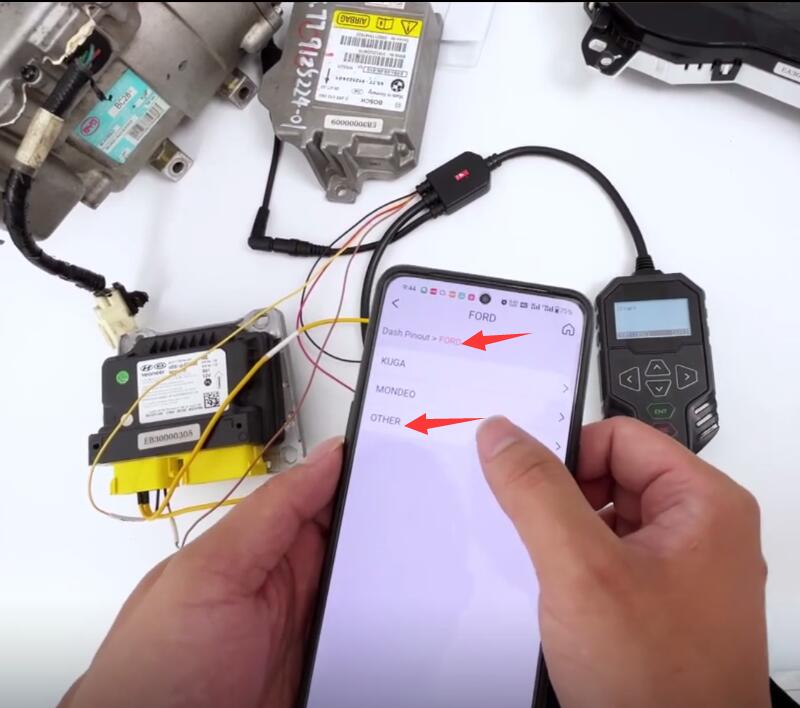
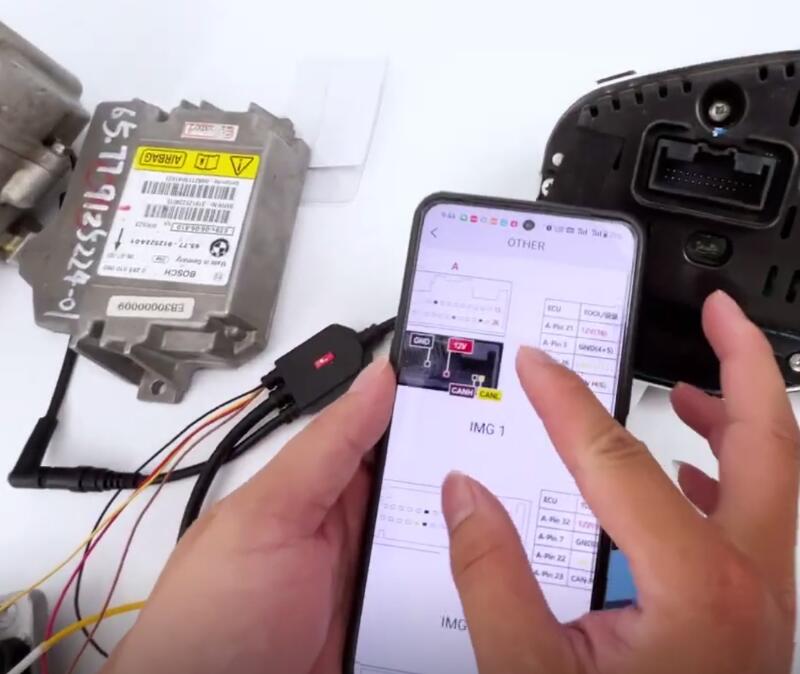
Follow the diagram to connect MT203 and dashboard drive correctly
Press [ENT] on the MT203 device
The dashboard lights up
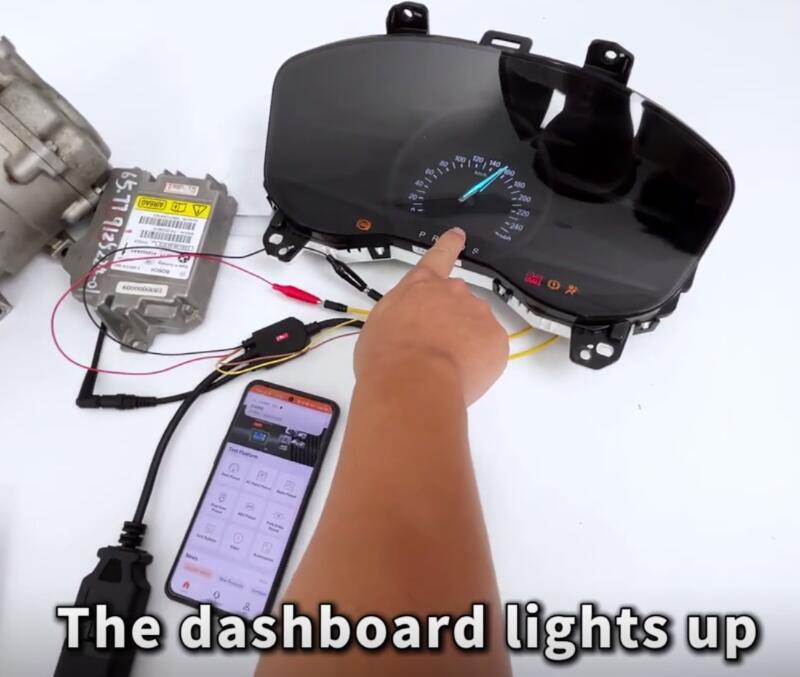
Press [ESC], and the dashboard enters sleep mode
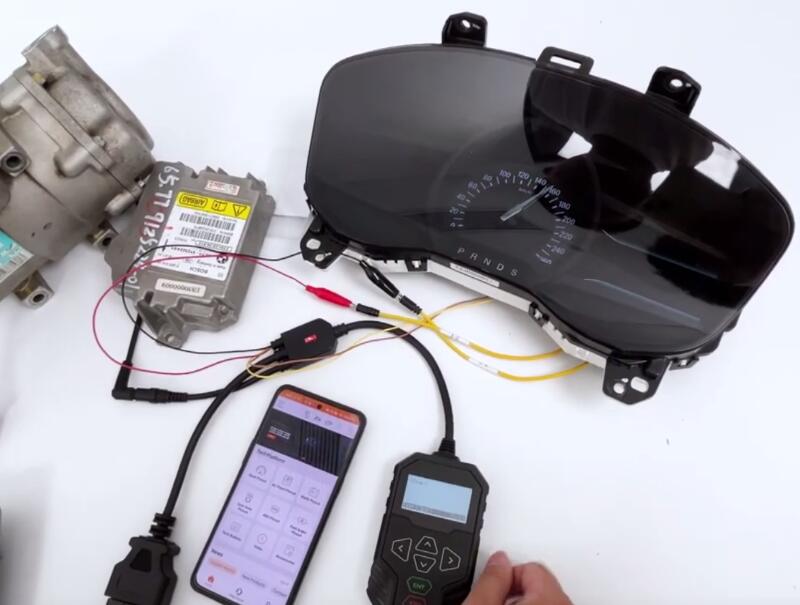
PART III
Q1: Can the device be upgraded?
A1: Yes, you can download the software from the official website "Service-Download-One Click Upgrade Tool", and then connect the device to the computer with USB to upgrade it.
Q2: Why does the automatic scanning fail?
A2: The success of the automatic scanning depends on a number of factors:
1.Make sure that the diagnostic instrument and ECU are connected correctly first, and the ECU is powered up before the automatic scanning is performed;
2.ECU power on for a period of time (a few seconds or minutes) did not communicate, may enter the hibernation mode, can not communicate, need to re-power on;
3.Part of the ECU will not take the initiative to send CAN signals, at this time you need to manually set the device;
4.CANFD currently doesn't support automatic scanning, please set it manually.
Q3: Where to check the wiring diagram of CAN driver?
A3: You can download the OBDSTAR APP from the Apple Store and Google Play Store. There are wiring diagrams for Dash, Audio, Gear Lever, etc. in the APP.
Q4: What does the 120Ω resistor do?
A4: If the ECU itself does not come with a 120Ω resistor, you need to switch the unit's resistor switch to ON for the CAN line to communicate properly.
Q5: Is the Flexray protocol supported?
A5: It is not supported.
OBDSTAR MT203 CAN Driver/Gateway Simulator:

Post a Comment