How to use Xhorse CONDOR XC-MINI PLUS II cut a new Honda Civic/Integra key ?
Here are the tutorials:
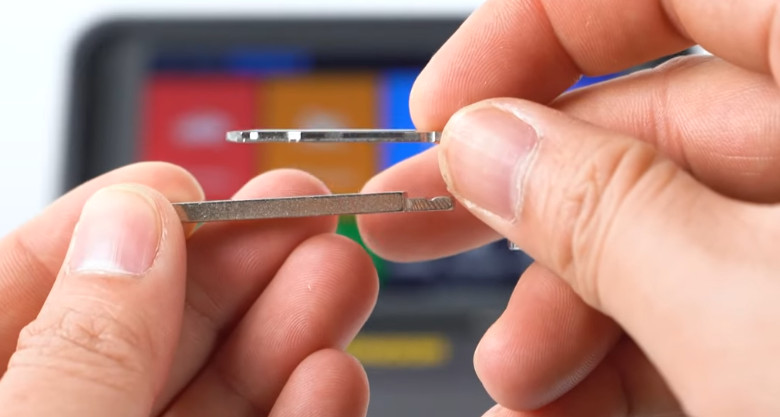
The new Honda Civic/Integra key is pretty thick. So we used a No.123 key blank for duplication. As the blank is thick, need to cut it first.
Steps:
Set up probe and cutter diameter>> Calibrate device>> Perform cutting depth detection>> Cut the blank thin (Key head/ height)>> Cut key tip>> Cut key bitting
Step 1: Set up probe and cutter diameter
Tap Settings>> Cutting Setting>> Probe and cutter diameter setting
Confirm the default options are correct or not, if yes, click ‘Save’ to continue. If not, change the data and save.
The default probe diameter is 1.0mm, and milling cutter is 2.5mm, just tap ‘Save’.

Step 2: Calibrate Condor XC Mini Plus II
Go back to the main menu
Here are the tutorials:
The new Honda Civic/Integra key is pretty thick. So we used a No.123 key blank for duplication. As the blank is thick, need to cut it first.

Steps:
Set up probe and cutter diameter>> Calibrate device>> Perform cutting depth detection>> Cut the blank thin (Key head/ height)>> Cut key tip>> Cut key bitting
Step 1: Set up probe and cutter diameter
Tap Settings>> Cutting Setting>> Probe and cutter diameter setting
Confirm the default options are correct or not, if yes, click ‘Save’ to continue. If not, change the data and save.
The default probe diameter is 1.0mm, and milling cutter is 2.5mm, just tap ‘Save’.

Step 2: Calibrate Condor XC Mini Plus II
Go back to the main menu
Install M5 clamp, 2.5mm cutter, 1.0mm probe on the XC Mini Plus II
Tap Manual cutting>> Line mode>> Initialize to calibrate the XC Mini Plus II key cutting machine
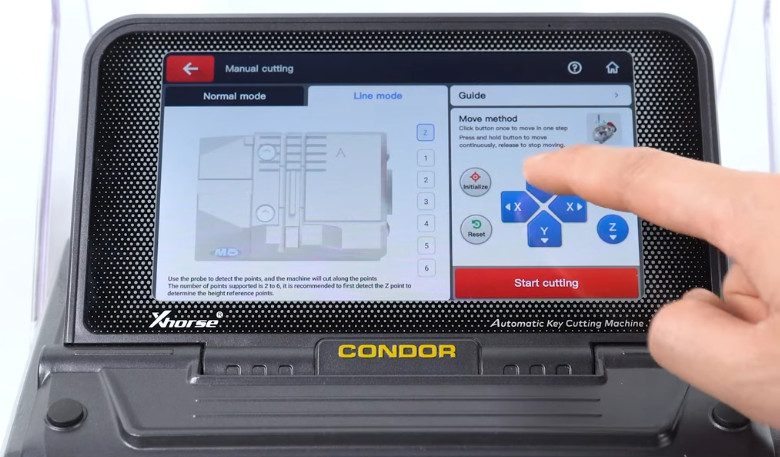
Step 3: Perform cutting depth detection on reference surface
Insert the key blank and tighten the clamp
Detect the Z point to determine the height reference points
Move the probe till it’s right above the blank
Detect Z point and record the point
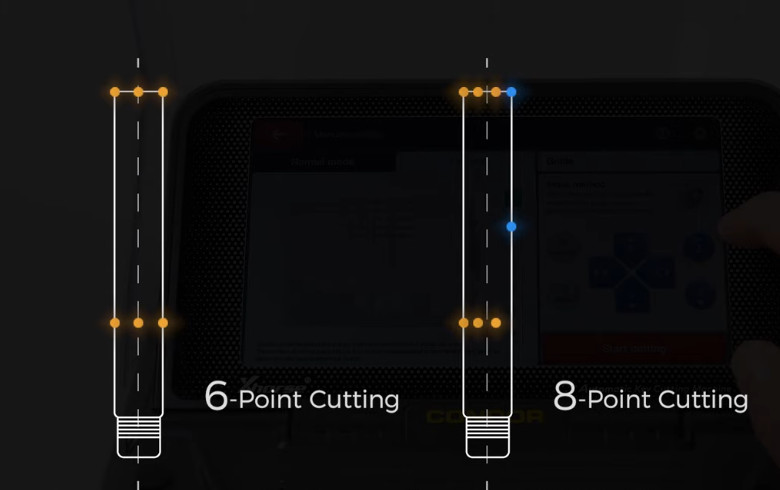
Currently Mini Plus II supports recording 2-6 points
You can record 6 points directly and cut it thin.
However, these points have to be recorded precisely and it’s hard to record with human eyes (you may need a vernier caliper), so it’s recommended to record 8 points to finish cutting.
First detect 6 points and then 2 points
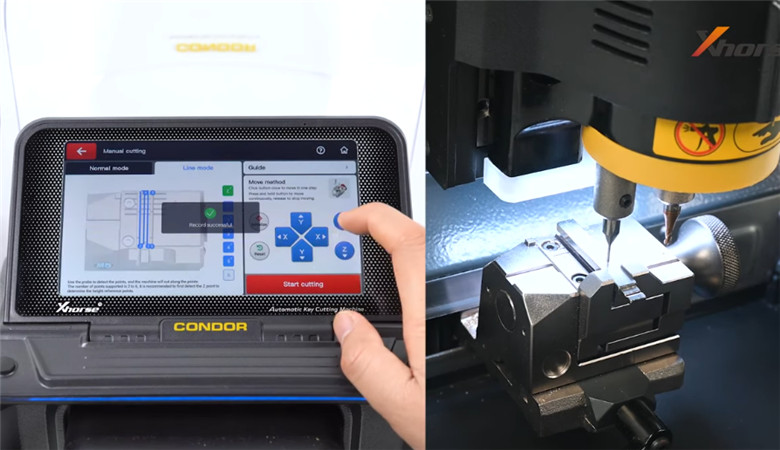
Detect point 1, points 2, point 3, point 4, point 5 and point 6 in sequence
Record these points successfully
Step 4: Cut the Blank thin
Set up the cutting depth to 1.50mm, and tap ‘Cut’
Start cutting the blank thin…
Cutting completed, and you can see the areas within the 6 points are completely thinned.

Step 5: Cut the Key head part
Insert the key reversely
Press ‘Start cutting’
The cutting depth is 1.50 mm and click ‘Cut’ to continue.
Finish cutting the 6 points.
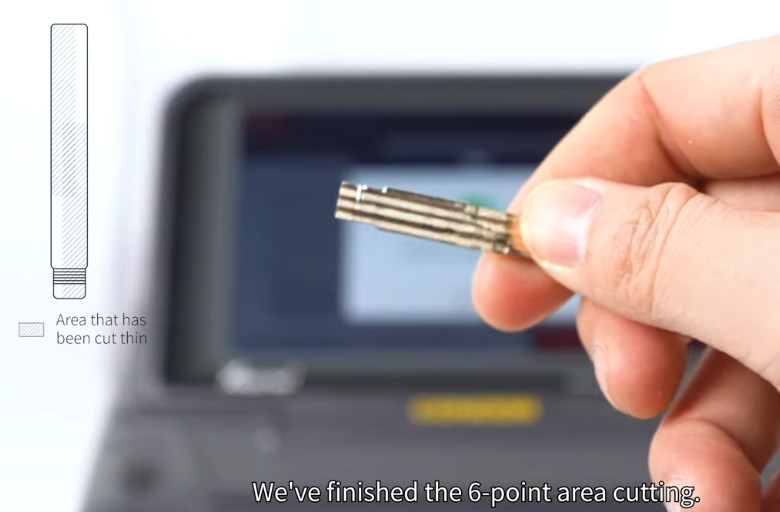
Need to record the last two points and cut the reset of the key
Initialize the device
Insert the key blank and tighten the clamp
Detect Z point
Detect point 1 and point 2
Cutting depth is also 1.50mm, and start cutting
Step 6: Cut the key height part
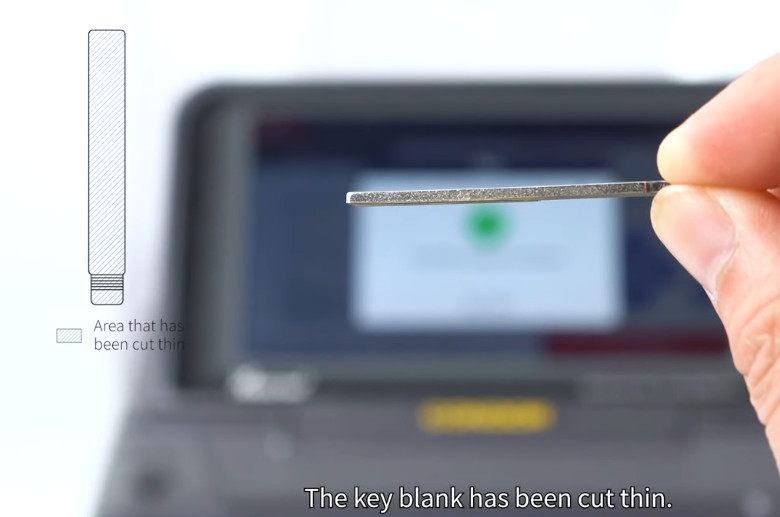
Set up the cutting depth to 1.50mm, and tap ‘Cut’
The key blank has been cut thin
Step 7: Cut the key tip
Mark the key blank based on the shape of the original key tip
Tap Manual cutting>> Line mode>> Initialize
After Initializing the Xhorse key cutting machine, insert the key blank and tighten the clamp.
Detect Z point
Detect point 1, point 2 and point 3 in sequence
Detection succeeded, then record the point.
Tap ‘Start cutting’
Set up the cutting depth to 1.75mm, and tap ‘Cut’
Cutting completed

Step 8: Cut the key bitting
Tap Automotive>> Brand/model>> All regions>> Honda>> Civic>> SY 16886

The two sides of Civic keys differ in bitting.
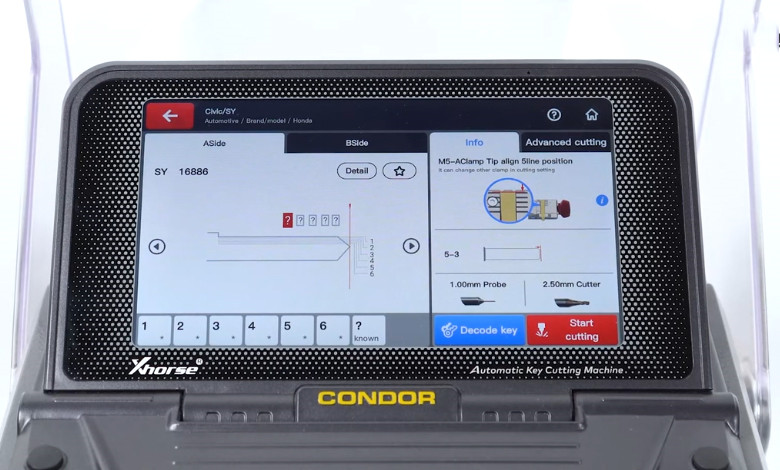
Identify A side and start to decode the side.
Insert the original key and tighten the clamp
Tap ‘Decode key’ to decode A side of the key
Aside learning completed, then press ‘B side’
Flip the key and tighten the clamp
Tap ‘Decode key’ to decode B side of the key
Key learning is successful.

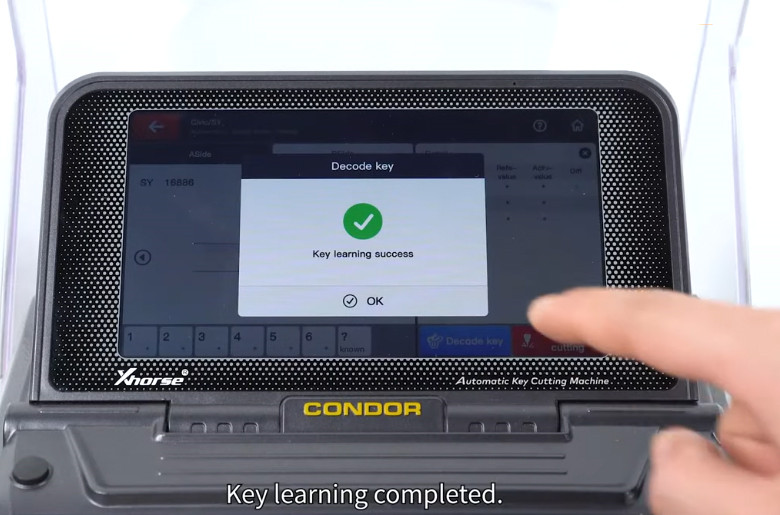
Insert the key blank and tighten the clamp
Click ‘Start cutting’ to duplicate A side of the key
After duplicating A side, flip the key and duplicate B side.
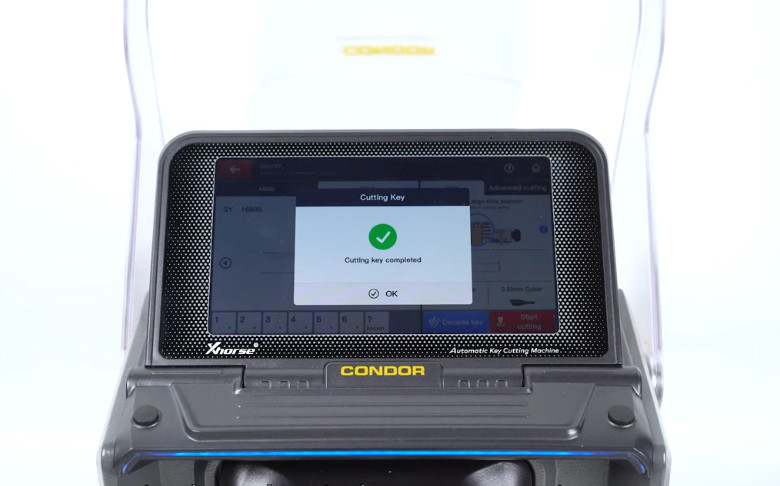
Finish duplicating the new Honda Civic/Integra key, and insert the key into the cylinder to test, it works perfectly.

Learn more: https://www.uobdii.com/wholesale/xhorse-condor-xc-mini-plus-ii.html
Tap Manual cutting>> Line mode>> Initialize to calibrate the XC Mini Plus II key cutting machine

Step 3: Perform cutting depth detection on reference surface
Insert the key blank and tighten the clamp
Detect the Z point to determine the height reference points
Move the probe till it’s right above the blank
Detect Z point and record the point
Currently Mini Plus II supports recording 2-6 points
You can record 6 points directly and cut it thin.
However, these points have to be recorded precisely and it’s hard to record with human eyes (you may need a vernier caliper), so it’s recommended to record 8 points to finish cutting.
First detect 6 points and then 2 points
Detect point 1, points 2, point 3, point 4, point 5 and point 6 in sequence
Record these points successfully


Step 4: Cut the Blank thin
Set up the cutting depth to 1.50mm, and tap ‘Cut’
Start cutting the blank thin…
Cutting completed, and you can see the areas within the 6 points are completely thinned.

Step 5: Cut the Key head part
Insert the key reversely
Press ‘Start cutting’
The cutting depth is 1.50 mm and click ‘Cut’ to continue.
Finish cutting the 6 points.

Need to record the last two points and cut the reset of the key
Initialize the device
Insert the key blank and tighten the clamp
Detect Z point
Detect point 1 and point 2
Cutting depth is also 1.50mm, and start cutting
Step 6: Cut the key height part
Set up the cutting depth to 1.50mm, and tap ‘Cut’
The key blank has been cut thin

Step 7: Cut the key tip
Mark the key blank based on the shape of the original key tip
Tap Manual cutting>> Line mode>> Initialize
After Initializing the Xhorse key cutting machine, insert the key blank and tighten the clamp.
Detect Z point
Detect point 1, point 2 and point 3 in sequence
Detection succeeded, then record the point.
Tap ‘Start cutting’
Set up the cutting depth to 1.75mm, and tap ‘Cut’
Cutting completed

Step 8: Cut the key bitting
Tap Automotive>> Brand/model>> All regions>> Honda>> Civic>> SY 16886

The two sides of Civic keys differ in bitting.

Identify A side and start to decode the side.
Insert the original key and tighten the clamp
Tap ‘Decode key’ to decode A side of the key
Aside learning completed, then press ‘B side’
Flip the key and tighten the clamp
Tap ‘Decode key’ to decode B side of the key
Key learning is successful.


Insert the key blank and tighten the clamp
Click ‘Start cutting’ to duplicate A side of the key
After duplicating A side, flip the key and duplicate B side.
Finish duplicating the new Honda Civic/Integra key, and insert the key into the cylinder to test, it works perfectly.


Learn more: https://www.uobdii.com/wholesale/xhorse-condor-xc-mini-plus-ii.html

Post a Comment