
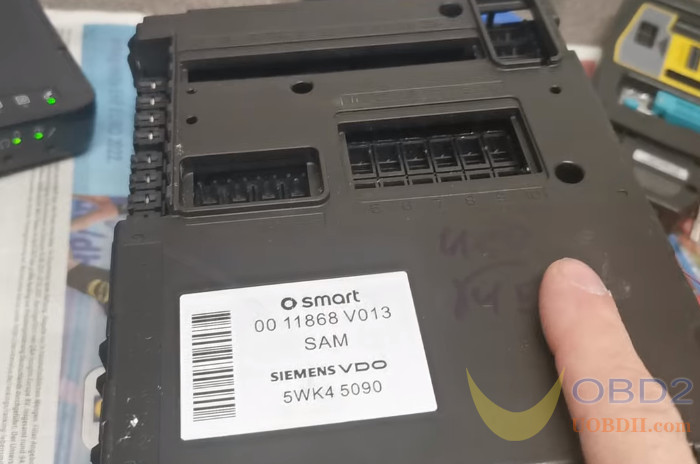
How to clone the Smart 450 SAM Motorola 9S12DG256 2K79X by VVDI Prog with Panasonic CF-53? Here are the tutorials:
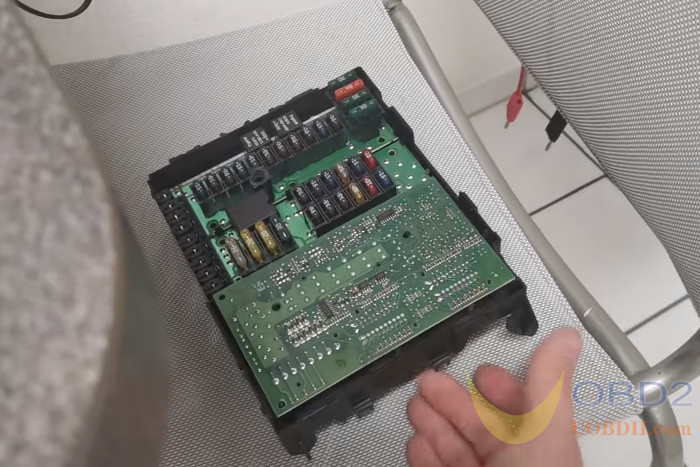
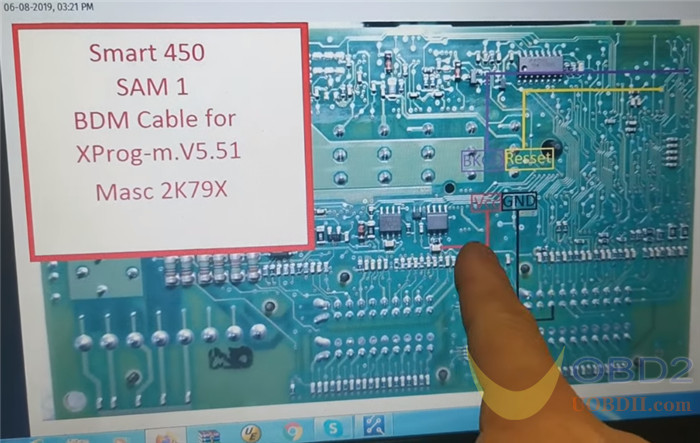
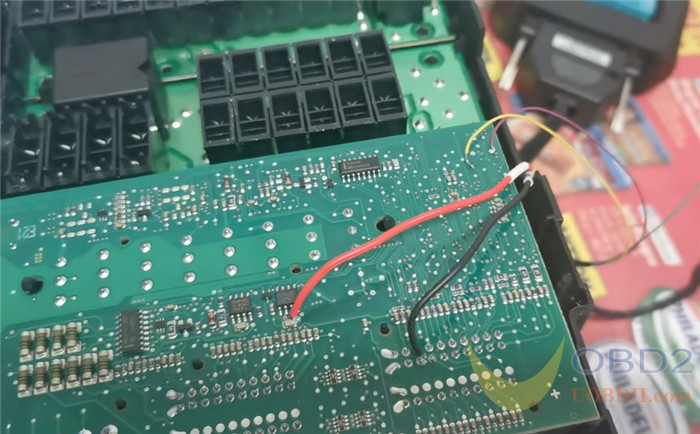
Firstly, Remove the module cover, and connect Xhorse VVDI Prog to the module correctly with the MC9S12 Reflash Cable V1. It’s not complicated.

Then go to VVDI Prog software
Select the type, brand and chip
It’s 2-MCU, MOTOROLA-MC9S12, MC9S12DG256_UNSECURED.
First read out the ID is 0012

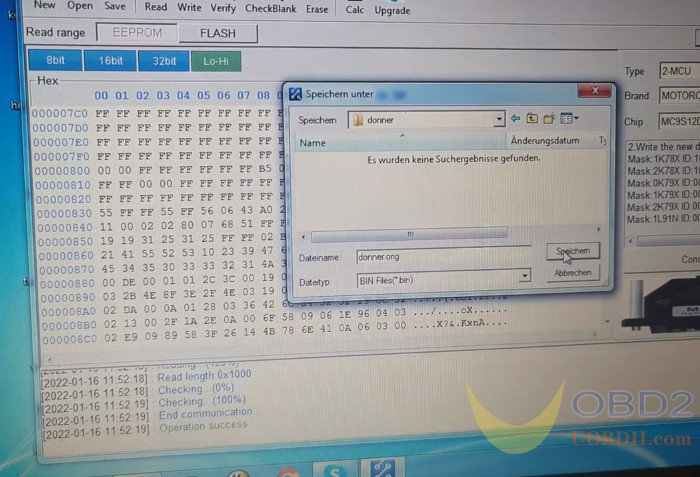
Next read the EEPROM data
Save the file after reading successfully

And read the FLASH data
Save the FLASH data read out

Click ‘Open’ to select the original EEPROM file
Then click ‘Write’

Read EEPROM again
It is same now.

Open the original flash file to write

Finally, test the module after programming, works fine on the car.
Besides the MC9S12DG chip, more MOTOROLA MCU chips are supported by VVDI Prog Programmer.
Check the MCU list as below:(R means the type is supported, and £ means the type will be supported soon in the future)
Manufactures Types Support Remark
MOTOROLA MC9S12XEP R Can automatically determine D-FLASH/EEE space
MC9S12XA R
MC9S12XB R
MC9S12XD R
MC9S12XDT R
MC9S12XDP R
MC9S12XDQ R
MC9S12DG R
MC9S12DT R
MC9S12P R
MC9S12H R
MC9S12HY £
MC9S12HA £
MC9S12HZ £
MC9S12XHZ £
MC9S12B £
MC9S12GC £
MC9S12XS £
MC9S12K £
MC9S12Q £
MC9S12C £
MC9S12P £
MC9HC(9)08 £
ATMEL ATTINY £
ATMEGEA £
NEC uPD70F £
ST TMS370 £
Learn more:https://www.uobdii.com/wholesale/vvdi-prog-programmer.html
Firstly, Remove the module cover, and connect Xhorse VVDI Prog to the module correctly with the MC9S12 Reflash Cable V1. It’s not complicated.
Then go to VVDI Prog software
Select the type, brand and chip
It’s 2-MCU, MOTOROLA-MC9S12, MC9S12DG256_UNSECURED.
First read out the ID is 0012
Next read the EEPROM data
Save the file after reading successfully
And read the FLASH data
Save the FLASH data read out
Click ‘Open’ to select the original EEPROM file
Then click ‘Write’
Read EEPROM again
It is same now.
Open the original flash file to write
Finally, test the module after programming, works fine on the car.
Besides the MC9S12DG chip, more MOTOROLA MCU chips are supported by VVDI Prog Programmer.
Check the MCU list as below:(R means the type is supported, and £ means the type will be supported soon in the future)
Manufactures Types Support Remark
MOTOROLA MC9S12XEP R Can automatically determine D-FLASH/EEE space
MC9S12XA R
MC9S12XB R
MC9S12XD R
MC9S12XDT R
MC9S12XDP R
MC9S12XDQ R
MC9S12DG R
MC9S12DT R
MC9S12P R
MC9S12H R
MC9S12HY £
MC9S12HA £
MC9S12HZ £
MC9S12XHZ £
MC9S12B £
MC9S12GC £
MC9S12XS £
MC9S12K £
MC9S12Q £
MC9S12C £
MC9S12P £
MC9HC(9)08 £
ATMEL ATTINY £
ATMEGEA £
NEC uPD70F £
ST TMS370 £
Learn more:https://www.uobdii.com/wholesale/vvdi-prog-programmer.html
Post a Comment